Search by Keyword

Search by Keyword


Bat 2 Setup and Assembly Instructions

The Bat 2 is designed by Robert Weber, an experienced full-size land yacht pilot and a passionate modeler. 
Your Bat 2 is not a toy. To successfully operate the model it requires practice.
The piloting of the model is easy to learn and challenging to master.

Please do us a favor and run the model the way it is designed before you make any "improvements"!
It is advisable to read through the entire instructions to get a feel how things are put together .
It all makes more sense once you have the Kit in front of you.
Recommended electronics . We recommend Hobby King products, all included in your Kit except the 2CH radio and receiver
Steering Servo: HK 15138 4.3Kg/cm
Sail Servo        : HK 15288  9Kg/cm 
Radio               : HK  GT2(B) 2.4GHz 2CH Pistol grip
Batteries RX    : 4 standard AA
The "Run don't Pinch" pinch attachment explains the main difference between water and land sailing.
  

 B2 Assembly instructions

Some basic knowledge of RC modeling is helpful.

  •   Both servos are installed and servo horns are mounted
  • Join both  mast halves with a drop of CA glue, since most likely you will not take it apart again
  •  NOTE: It is advisable to store the sail attached to the mast, Mylar deforms due to memory when rolled up for a longer period of time.
  • Insert assembled mast into the sail loops, starting with the loop closest to the top of the sail. A twist wire secures the top of the sail to the skid plate
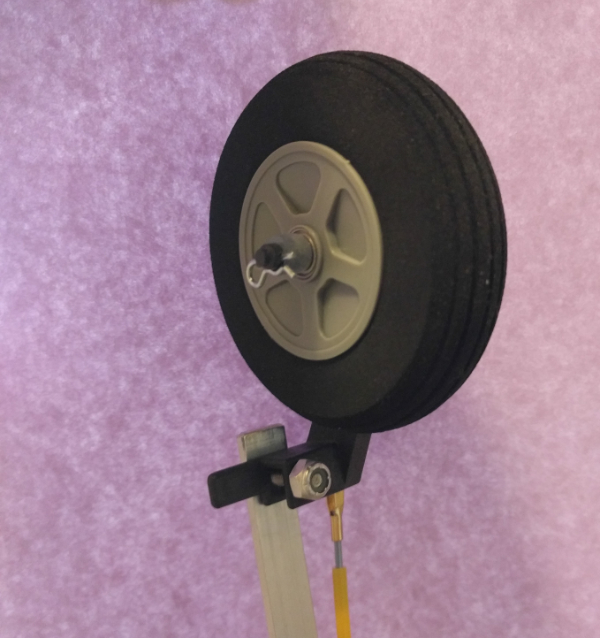
  • Mount front wheel fork on to the pivot bolt and secure with aluminum Nyloc Nut. Make sure the fork pivots freely.
  • Slide front wheel onto fork axle.... Very close fit
  • Make sure plastic o-ring does not apply any pressure to the bearing. Secure with clip (if not pre-assembled)
  • Install 4" rear wheels, again making sure the nyloc nuts are not applying any pressure to the bearings.
  •  NOTE: Both rear axle ends and nyloc nuts are coned to only touch the inner race of the bearings.
    • Try to keep rear wheels off the ground when stored, new tires flat pot easily.
  • Attach rear axle with the 6-32 bolt in the center
  • Insert the mast through the center hole of the three holes until it bottoms out
    •   NOTE: mast is slightly angled backwards.
  • Attach the forestay to the nylon eyelet.
    •   The forestay is adjusted as close as possible.There should only be tension as the boom is close hauled.
    •    It merely counteracts he pull of the mainsheet.
    •    Simply tie one knot at a time in the forestay if it turns out too loose
  • Thread Mainsheet through the hole and around the end of the boom.
  • As you pull the trigger all the way, make sure the servo does not "buzz"
  • Correct adjustments on the transmitter to eliminate the buzz noise.
  • Just make sure the boom is close hauled as you squeeze the trigger all the way. A knot at the end of the line keeps the mainsheet from pulling out of the slot
  • Check function of steering and sail control. Minor adjustments can be performed on the knobs of the transmitter.

 
To get used to the model the ideal wind speed is 8-10MPH.


Helpful Images


ANSWER TO 


FAQ:   Yes the boom movement (sheet in-sheet out) is ENOUGH ( Important hint for Modelers who are used to operate water sail boats).


That's it ..... You are done.... Have fun
Don't forget to turn the switch on, you may not be able to catch the uncontrolled model.
     
Any questions?...... I am just an E-mail away..... RobertsMLY@charter.net
  
 Happy Land Sailing
Turn ON transmitter first and then switch on model
Turn Model switch OFF first and then transmitter.